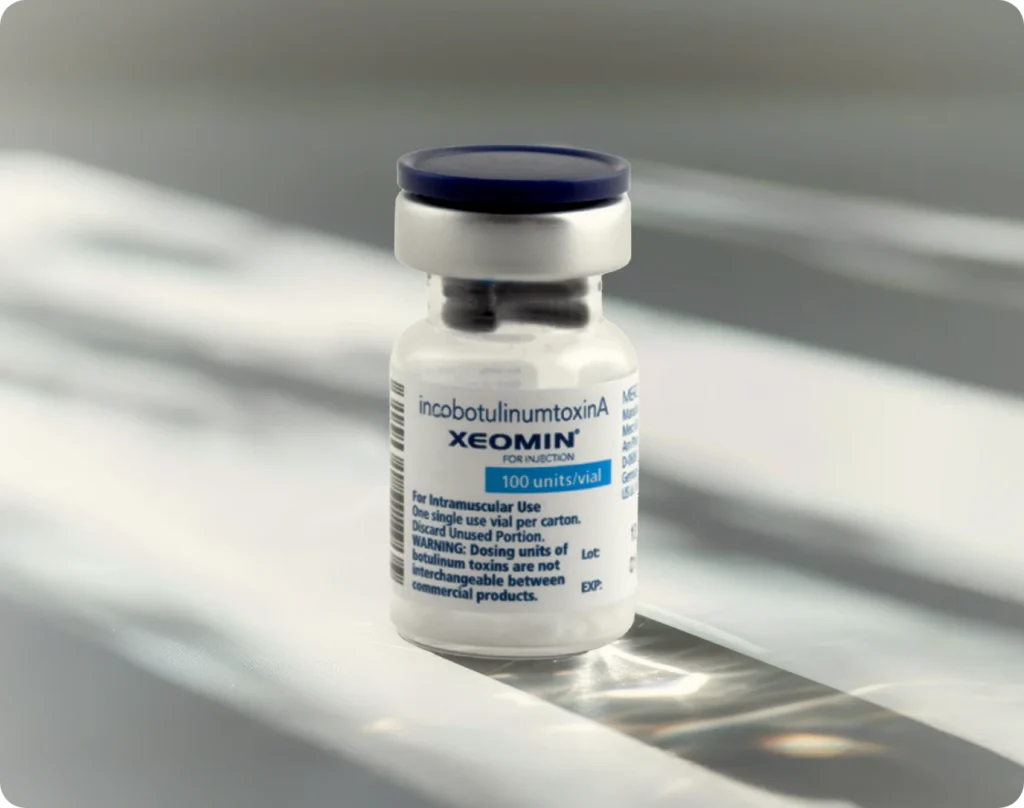
Using XEOMIN®
Consistency With Every Treatment
From mastering your technique to navigating patient conversations, feel supported at every step using XEOMIN.
Actual patient. Individual results may vary.

Reconstituting XEOMIN
Here’s what you need to know to get XEOMIN ready to use.
Always double-check whether you have the 50 or 100 unit vial before you start diluting—and remember to use sterile, preservative-free 0.9% sodium chloride injection, USP.
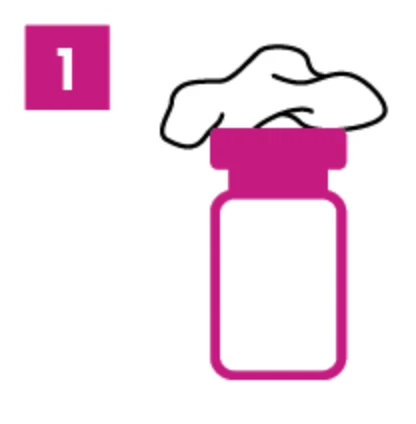
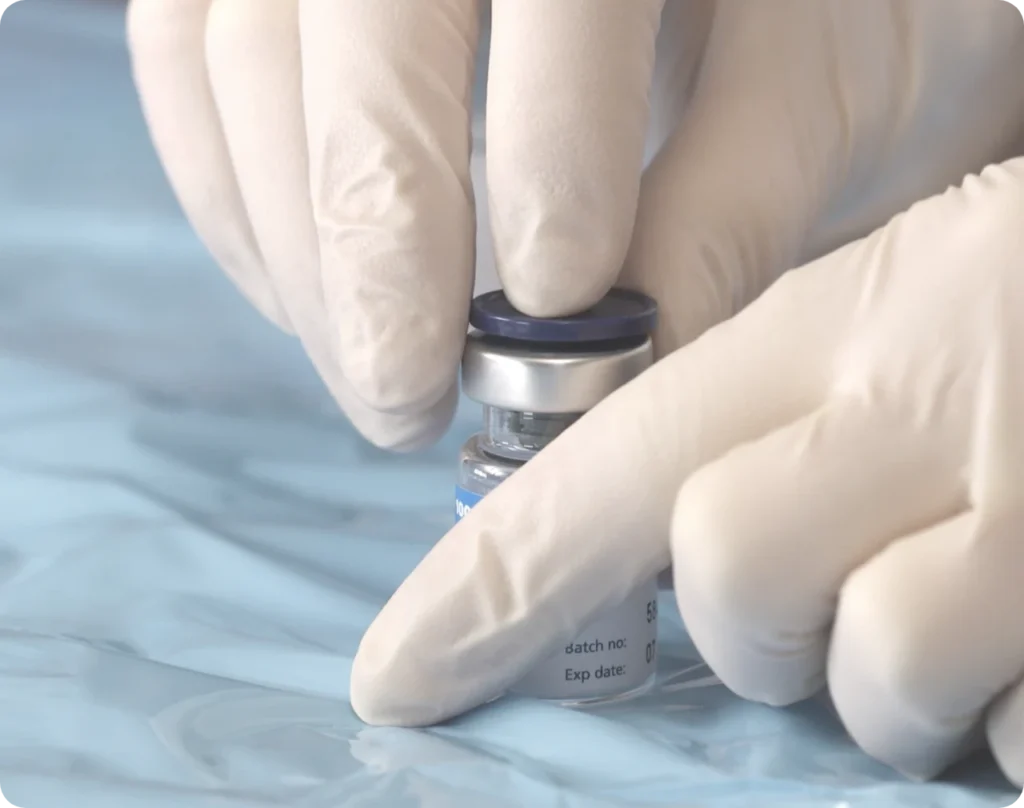
Step 1: Prep Your Vial
Give the rubber stopper a quick swipe with an alcohol wipe (70%).1
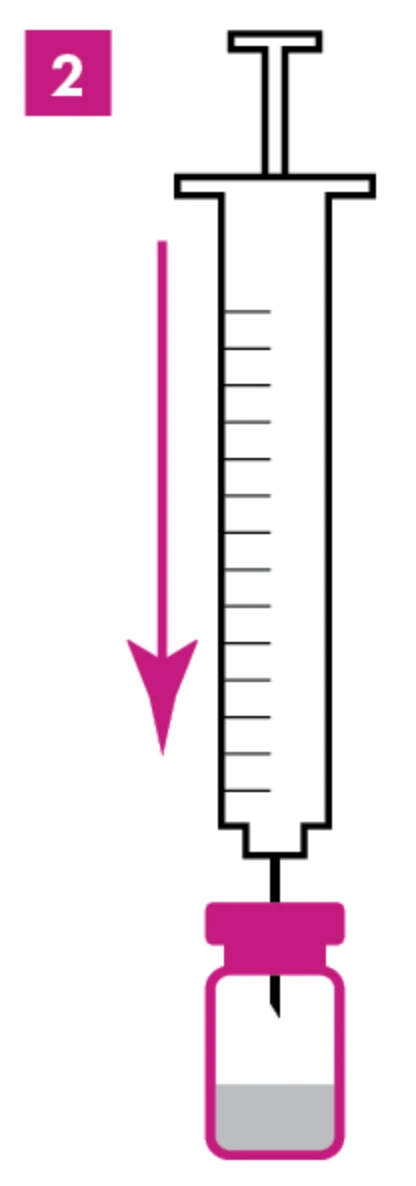
Step 2: Add Saline
Gently push the needle straight through the stopper and ease the saline into the vial (aim for a smooth pour here—no bubbles or foam, please). If the vacuum doesn’t pull the saline in, play it safe and don’t use that vial.1
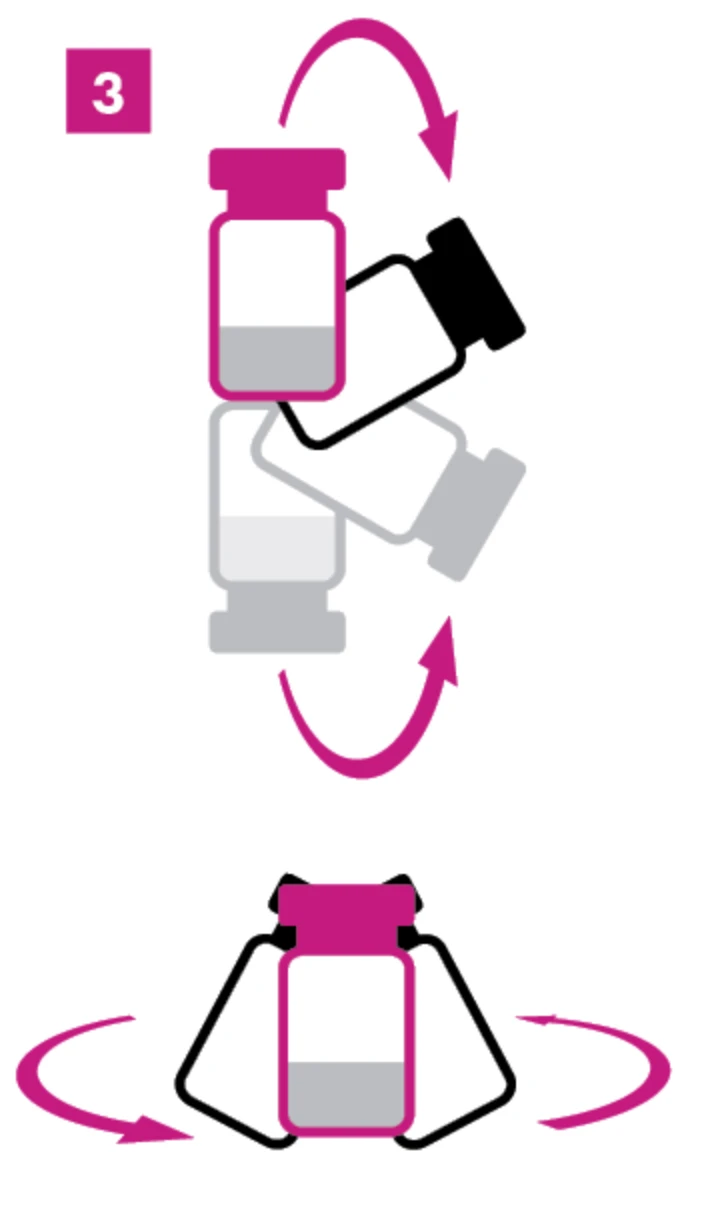
Step 3: Gently Flip and Swirl
Remember to invert and swirl the vial. The powder should be fully dissolved and the solution should be perfectly clear and colorless if done properly. Let it sit 3-5 minutes before using. If it looks cloudy or has visible particles, it’s a no-go and discard the vial.1
Watch and Learn
Visit the Merz Aesthetics Exchange (MAX) Portal to watch a reconstitution demo and see these steps in action.
Simple to Store. Ready to Use.
With no refrigeration required prior to reconstitution and simple storage requirements, XEOMIN is designed to support everyday practice operations.1
Unopened vials of XEOMIN should be stored at or below 25°C (77°F). Reconstituted XEOMIN solution should be administered within 24 hours after dilution. During this time period, reconstituted XEOMIN should be stored in a refrigerator at 2-8°C (36-46°F).1

Your Guide to Injecting XEOMIN
Check out these detailed instructions for reconstituting XEOMIN, assessing patient anatomy, and crafting a personalized treatment plan.

Administering XEOMIN for Upper Facial Lines
With 64 units, XEOMIN is designed for smooth, natural results across glabellar, forehead, and lateral canthal lines—supporting a harmonized aesthetic.1
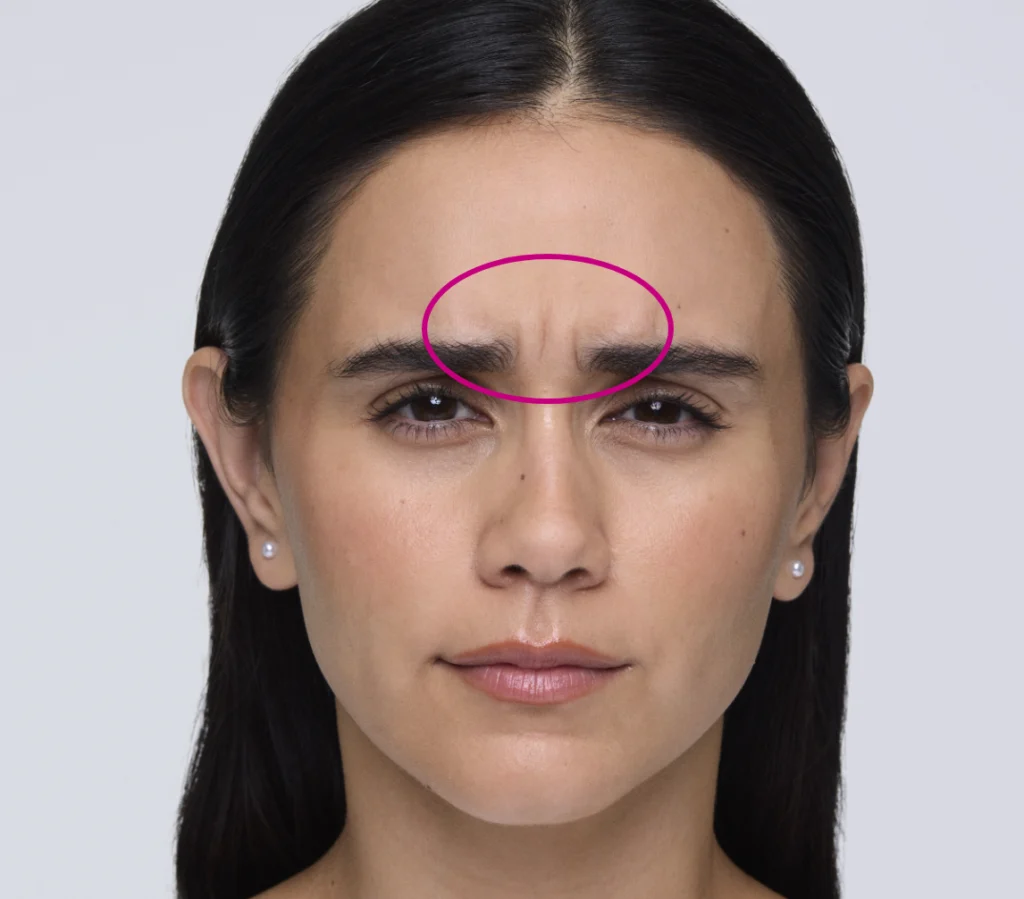
Maximum Recommended Dose: 20 units
You’ll use up to 20 units, split evenly into five 4-unit intramuscular injections. Think 2 injections in each corrugator muscle and 1 in the procerus muscle.
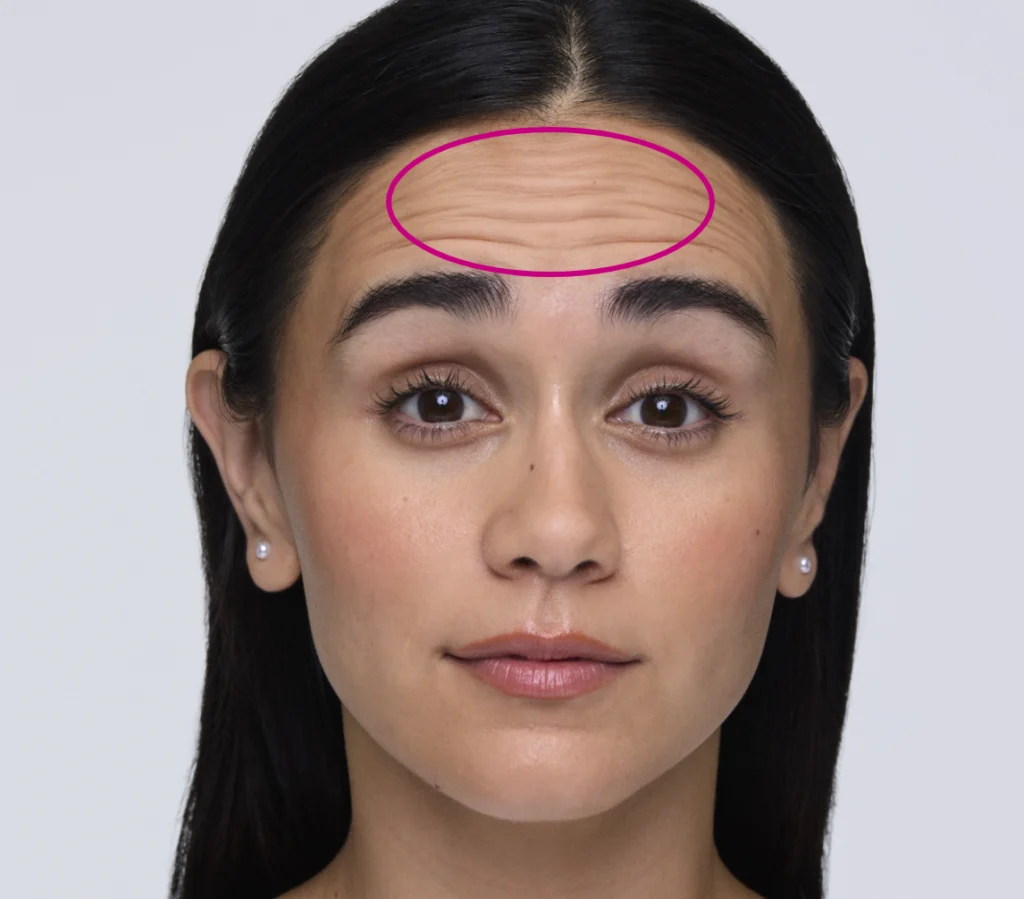
Maximum Recommended Dose: 20 units
Distribute up to 20 units across the frontalis muscle, taking into account an individual assessment of the patient’s anatomy, expression, and muscle strength. Make sure you’re at least 2 cm above the orbital rim.
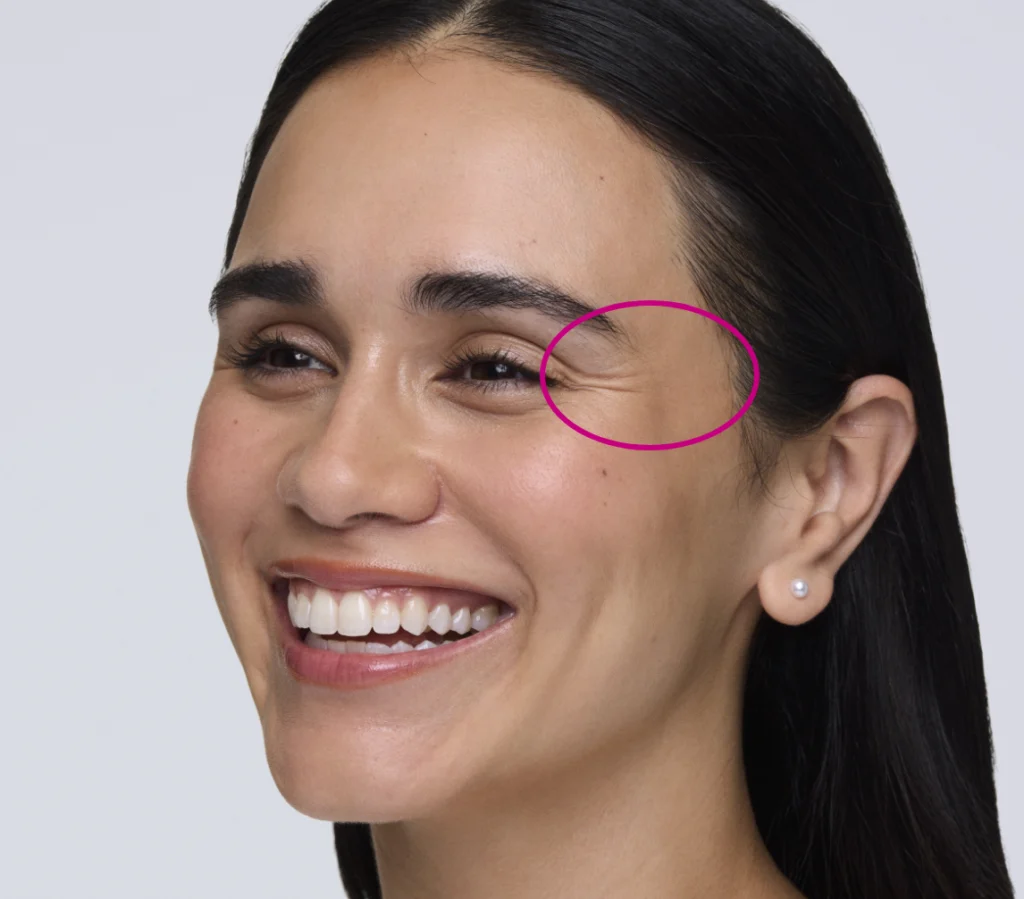
Maximum Recommended Dose: 24 units (12 per side)
You’ll inject up to 4 units into 3 points on each side (that’s 6 total injection sites) in the lateral orbicularis oculi muscle, for 12 units per side (up to 24 units total):
- Place one injection about 1 cm lateral from the bony orbital rim, in the horizontal extension of the lateral canthus
- Place the other two injections roughly 1 cm above and below that first injection
Actual patient (pictured before XEOMIN treatment). Individual results may vary.

Step-by-Step Injection Training
XEOMIN is backed by a full suite of virtual and in-person training tools—so integrating it into your practice is smooth and straightforward.
Start Offering XEOMIN
You have the knowledge—now put it into practice. Start offering patients XEOMIN and design individualized treatment plans for your patients.

Bring on the Before-and-Afters!
Discover real stories and results from patients who have experienced the XEOMIN difference.